1. Create: New navbar
Create a new navbar for your course.
- Select Course Admin from the navbar.
- Select Navigation & Themes.

- Select Create Navbar.
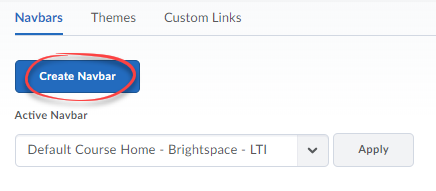
- Enter a name for your navbar.
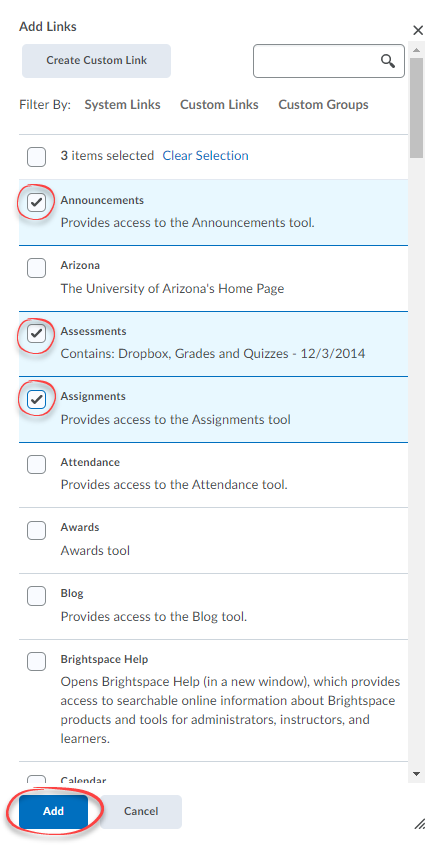
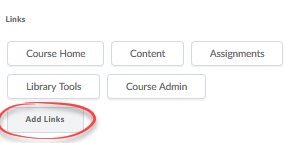
- Click Add Links: these are the tools, custom links, or activities that will appear on the navbar. Always include Course Admin so you can access your administrative tools.

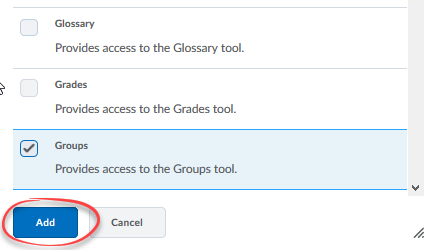
- Select the links you wish to add to your navbar and click the Add button.
- Select Save and Close to save your changes.
2. Edit: Change to a different navbar
Change the navbar in your course to a custom or default bar.
- Select Course Admin from the navbar.
- Select Navigation & Themes.

- In the dropdown menu Active Navbar, select the one you would like to use.
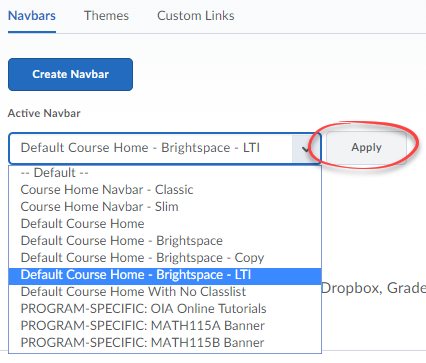
- Select Apply to save your changes. You may need to refresh your page to see the new navbar.
3. Edit: Add or remove links from the navbar
Edit the navbar so just the links you use are present.
The navbar can be edited at any time and doesn't have to be "set" prior to the start of a course.
- Hover over the navbar and click on the dropdown menu to the right (box with three dots).
- Select Edit This Navbar.

- If the dialog box appears asking "Create a Copy?" click on the Yes! I'll work with a copy of the navbar button. If this box does not appear continue with the next steps.

- Edit the Name of the navbar.
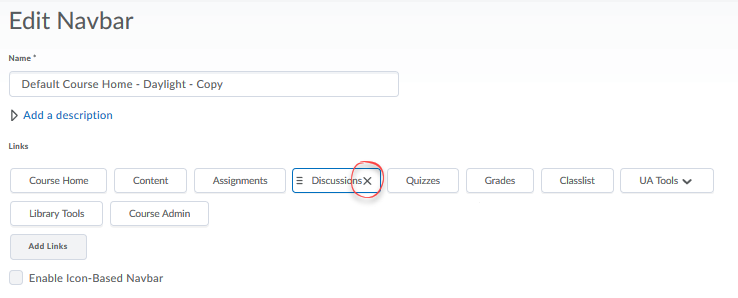
- To remove links on the navbar: hover over the link you want to remove and click the X.
Note: Students never see the Course Admin link and it should not be removed.
-
To change the order of the links, click on a link and drag it to a different position on the navbar.

- To add a link to the navbar: click the Add Links button, select the link you wish to add from the list, and click Add.
- Click Save and Close.

