1. Locate: Checklist tool
Find the Checklist tool in Course Admin and Content.
A checklist is an interactive to-do list that allows students to check off each item as they complete them. A checklist may list all the items that need to be completed or new items might appear as other items are checked off. Items on a checklist are organized into one or more categories.
Checklists can be accessed several ways --
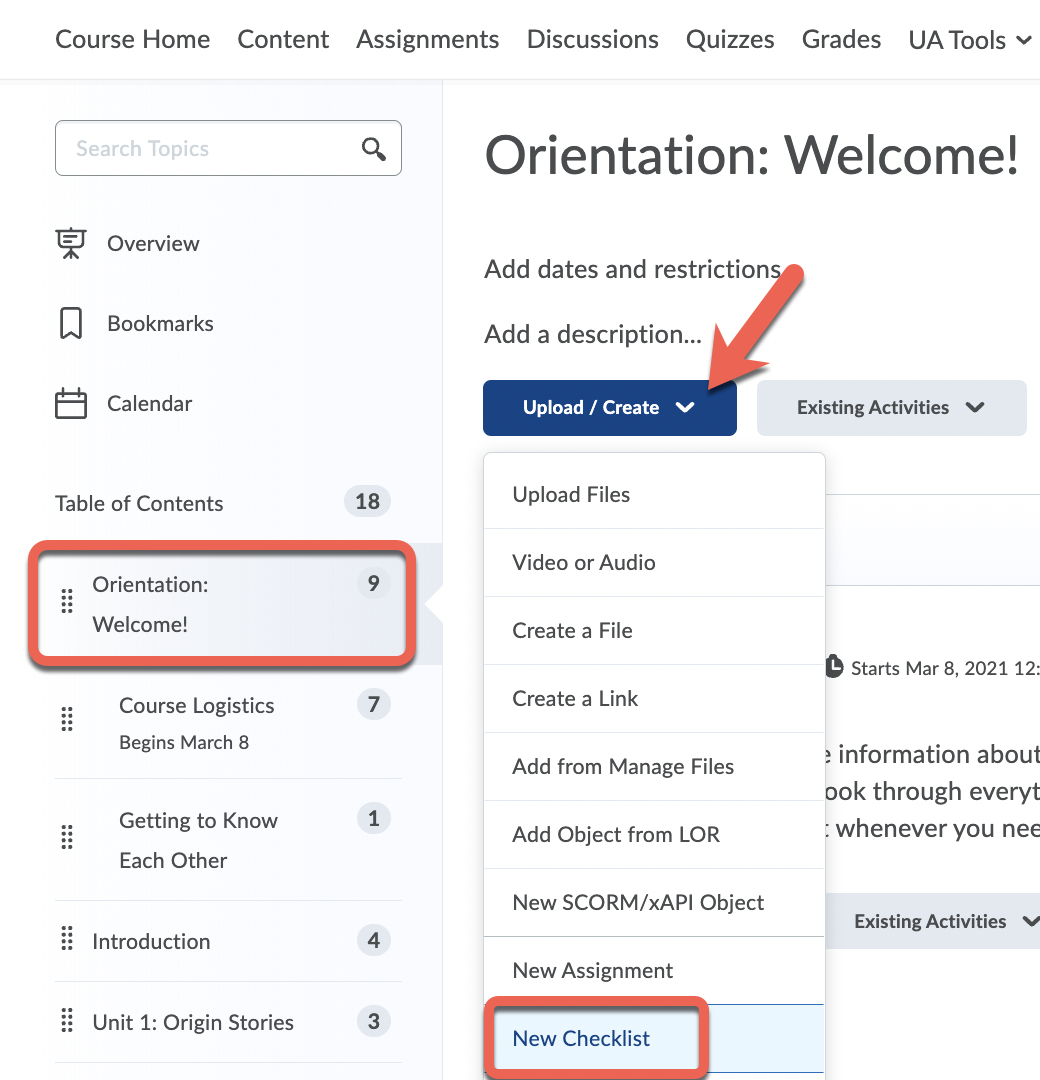
- through Content by selecting Upload/Create and New Checklist in the action menu -- this allows you to create the Checklist directly in the Module of your choosing.
- through the Checklists tool in Course Admin -- this allows you to view all Checklists you've created and create new Checklists before linking them within a Module in Content.
- Select Course Admin.
- Select Checklists.

- If you'd like students to have access to all checklists via the Checklist tool, you can add a link on your course's navbar.
Close
2. Create: A Checklist
Create a new checklist in your course from Content or Course Admin.
Creating a new checklist from Content.
- Select Content and choose the Module in which you would like to add a checklist.
- Select Upload/Create and select New Checklist from the action menu.
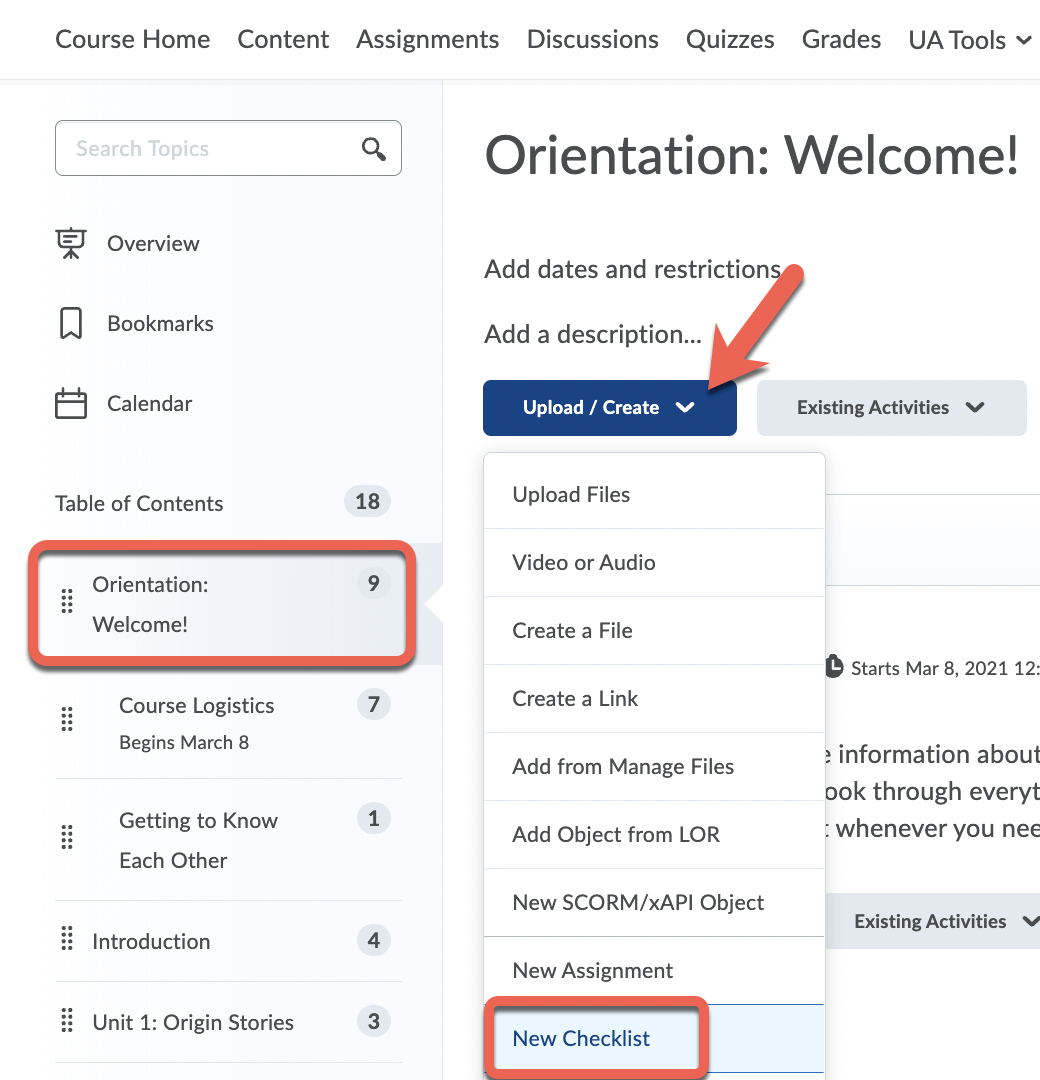
- Give the checklist a Title.

- Optional: Enter instructions or a description for students to refer to as they use this checklist.
- Select Save
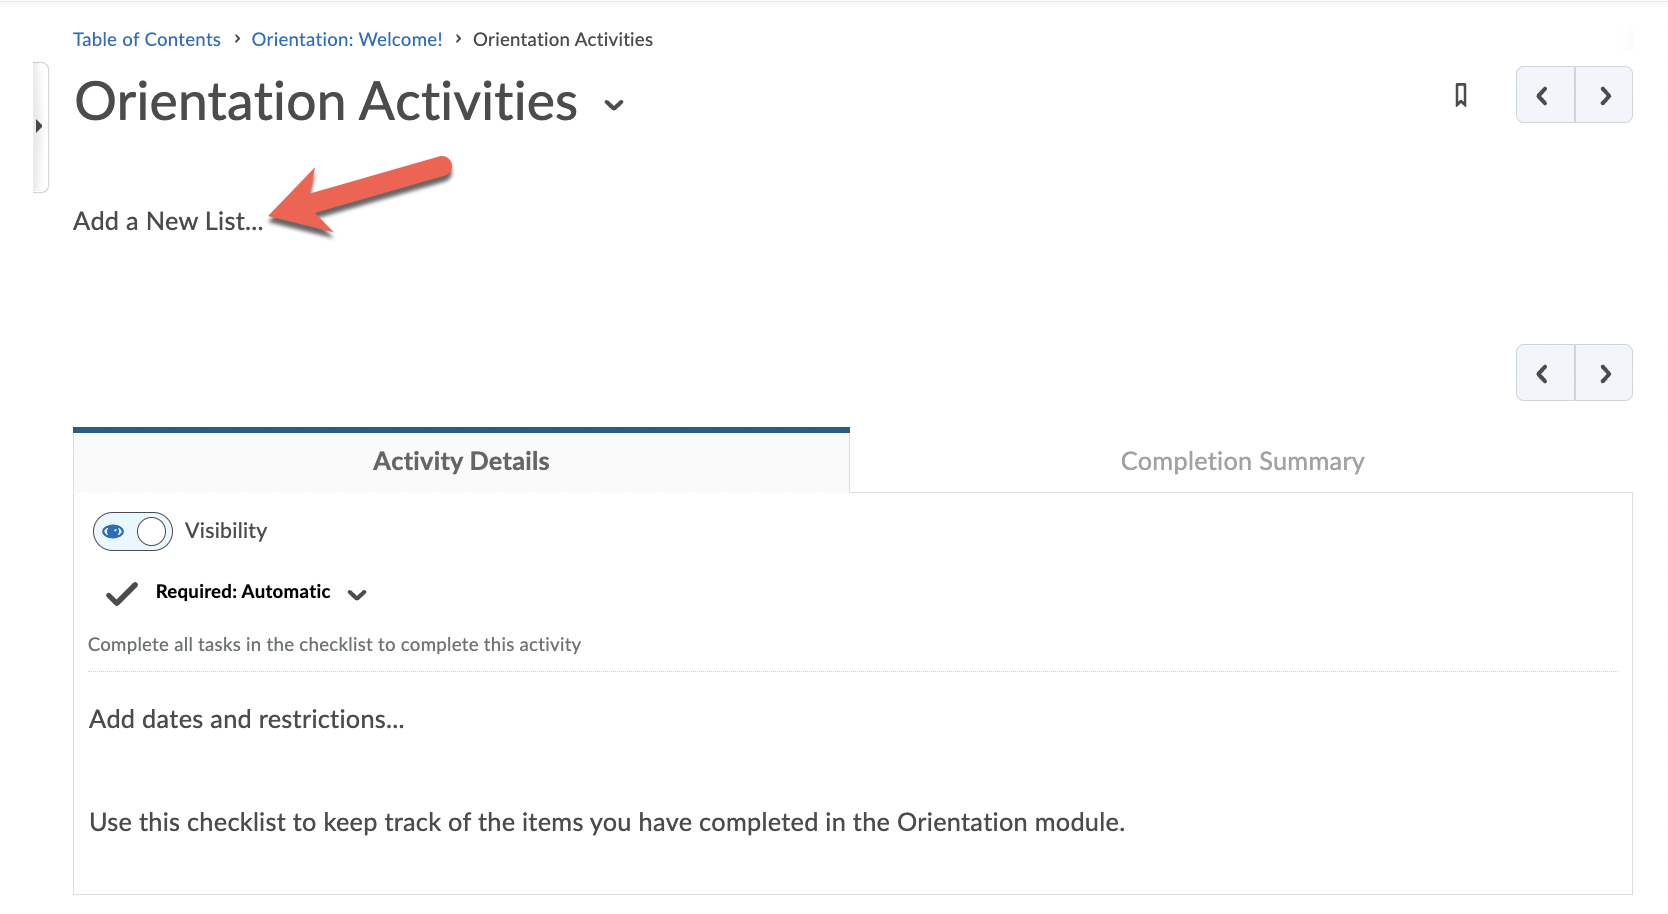
- On the next screen, click Add a New List and give the list a name -- this list should be considered like a "category" or "section" of your overall checklist. You can use a single list or choose to separate items into multiple lists.
- To add items to this list, select Add a New Task.

- Give each new task a title.
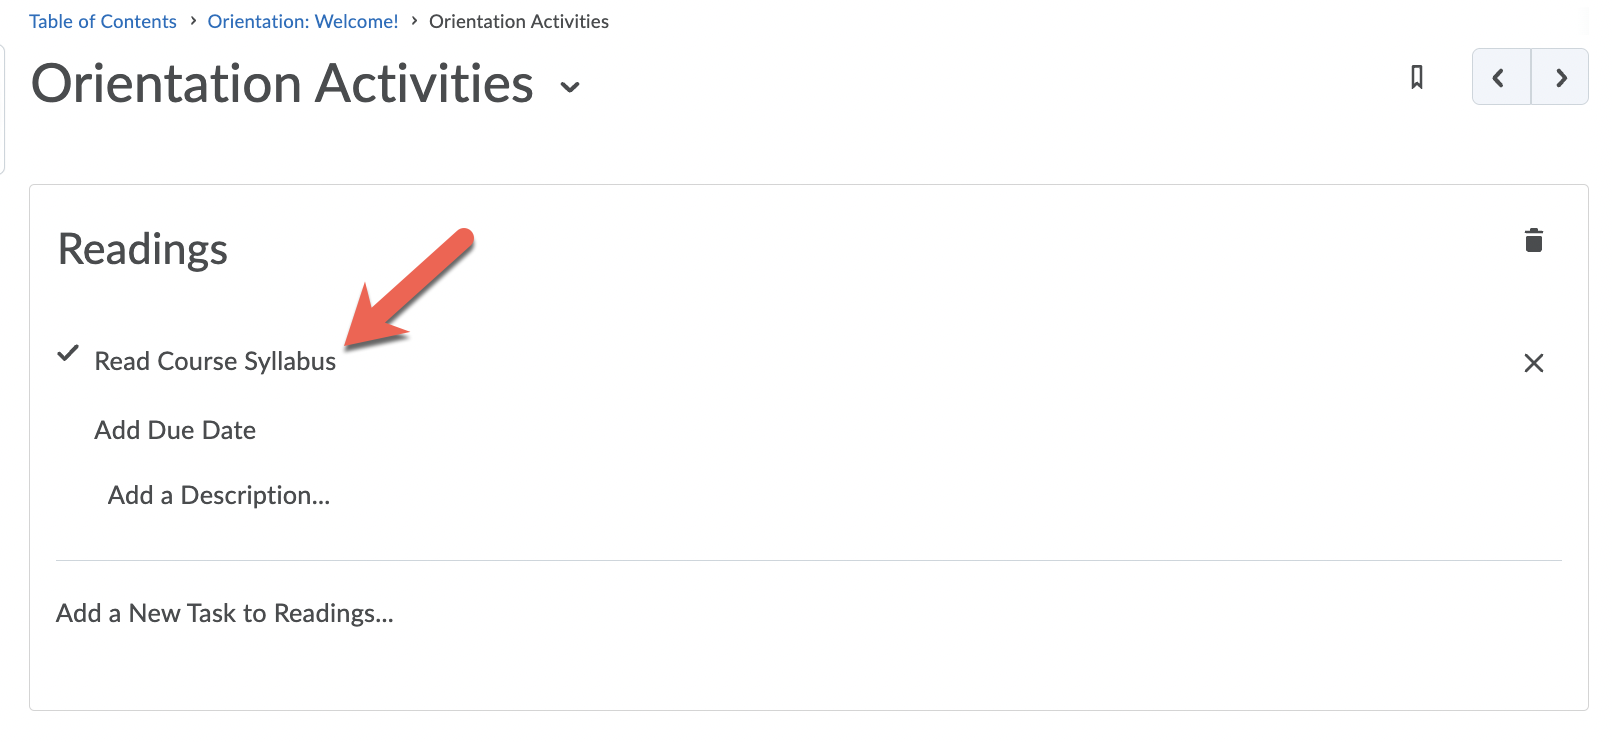
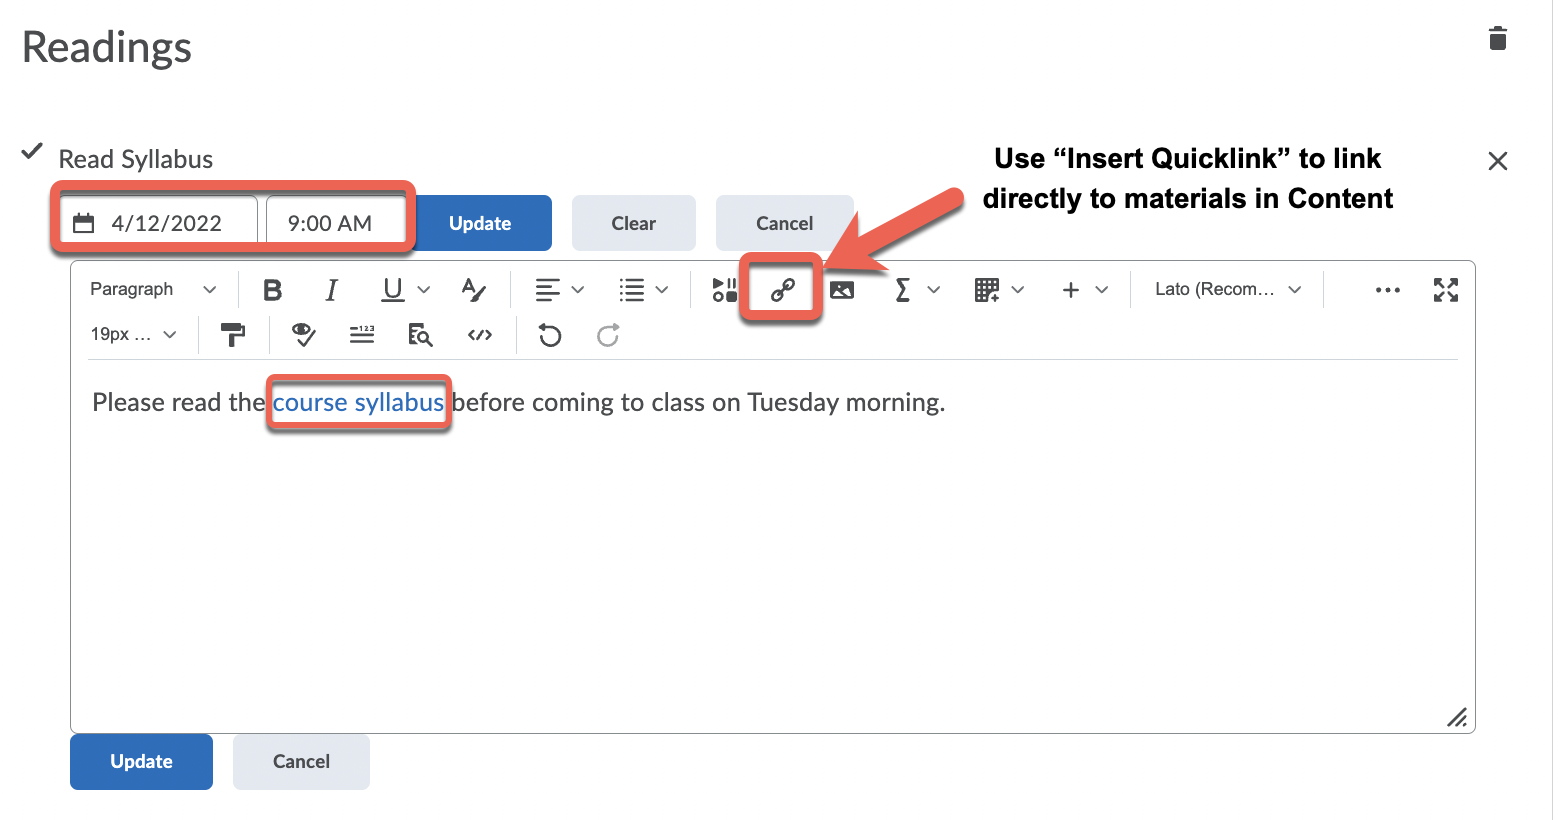
- Optional: You can also give each task an individual due date and a description -- this due date will appear in the Calendar and is separate from the dates you have attached to any activities within the Assignments, Quizzes, and Discussions tools. Consider using the Insert Quicklink icon to link directly to the materials students will need in Content or to the activities in Assignments, Discussions, etc. the checklist item refers to.
Create a new checklist from Course Admin.
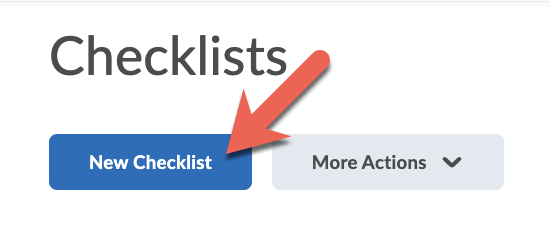
- Select New Checklist.
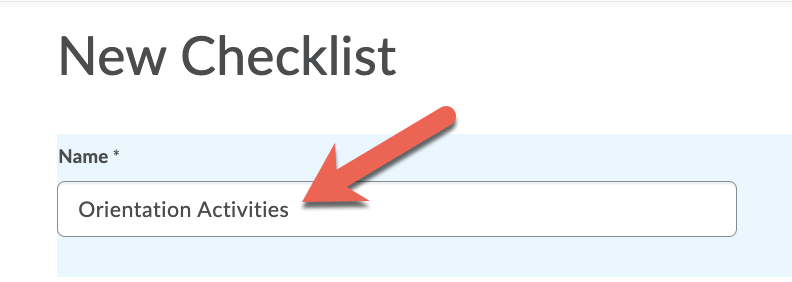
- Enter a Name for the new checklist. Optional: provide a description or instructions for students to refer to as they use the checklist in the Description field.
- Select Save to save the new checklist. This brings you to the Edit Checklist page.
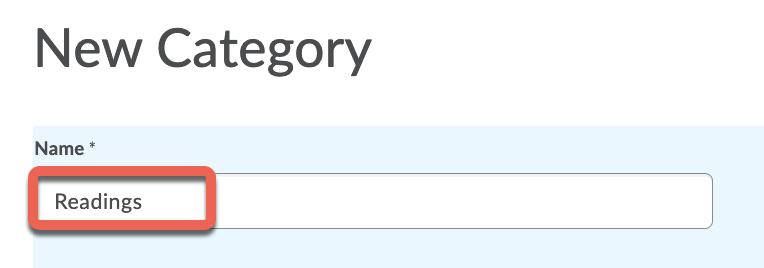
- On the Edit Checklist page, select New Category. Each item you create must belong to a category. You can create a single category for all items in the checklist or separate items into multiple categories.

- Give the category a name. Select Save -- this will take you back to the Edit Checklist page.
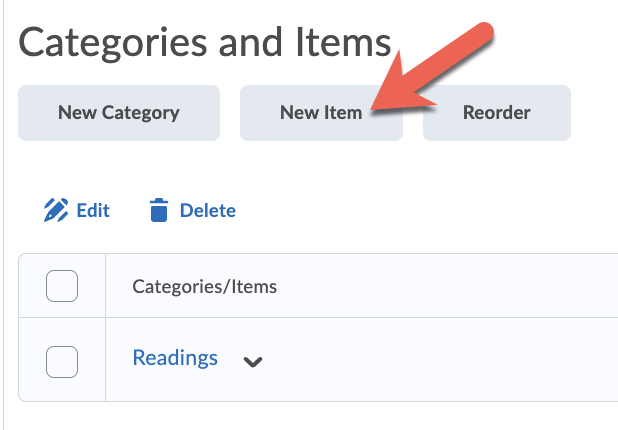
- Select New Item.
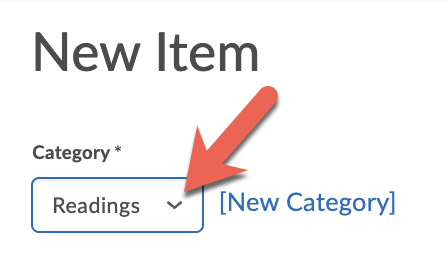
- On the New Item page, select a category for the item in the Category drop-down list. If you need to create a new category, select New Category.
- Give the item a Name. Optional: Provide a description of the item and set a due date by selecting the Due Date check box and selecting or typing the appropriate date and time. If you'd like this due date to appear in the course Calendar for students, select the Display in Calendar check box.
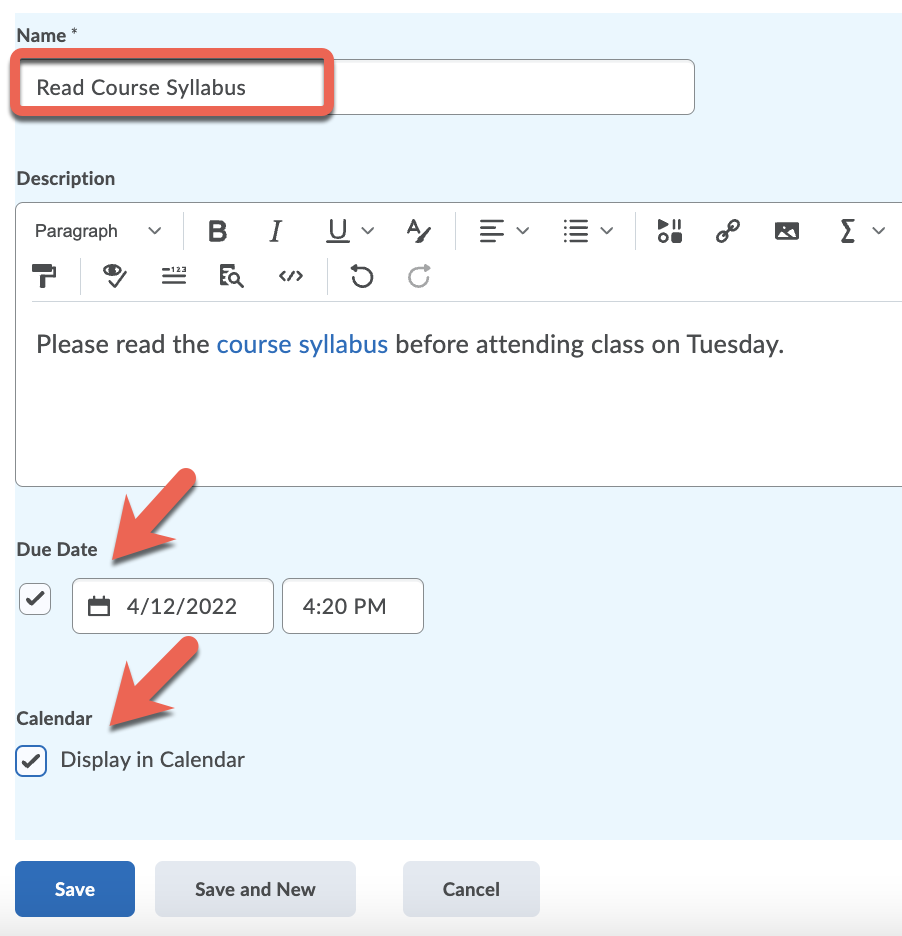
- Select Save to save the new item or Save and New to save it and create another item.
- When you are finished creating items, select Save and Close from the Edit Checklist page.
3. Preview: Your Checklist
Preview a checklist to see how it will appear for your course participants from the Checklist tool.
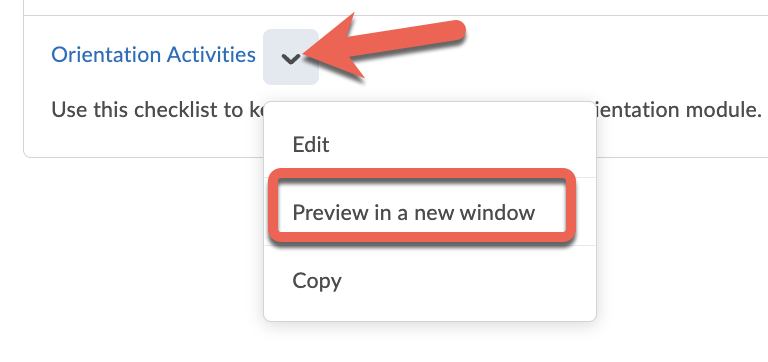
- Select the down arrow to the right of the checklist to preview.
- Select Preview in a new window.
- A pop up window will appear. Once you have finished previewing the checklist, select Close to exit preview mode.
4. Modify: Your Checklist
Modify checklist properties, categories, or items from the Checklist tool.
- Select the down arrow to the right of the checklist you wish to modify and select Edit from the action menu.
- On the Edit Checklist page, make the changes you want to the Checklist Properties area.
- You can also edit Categories and Items. Select the name of a category or item to edit settings for that category or item.

- Make your changes, then select Save to return to the Edit Checklist page.
- Select Save to save your changes and remain in the checklist, or Save and Close to save your changes and return to the main checklist page.
5. Edit: Multiple Items on a Checklist
Bulk edit items on your checklist.
- Click the down arrow to the right of the checklist you wish to modify, and select Edit from the action menu.
- Select the items you wish to edit (check boxes to the left), or select the checkbox above/below the table to select all items.
- Select the Edit icon.

- Make your changes, then select Save to return to the Edit Checklist page.
- Select Save to save your changes and remain in the checklist, or Save and Close to save your changes and return to the main checklist page.
6. Reorder: Your Checklists
Change the order in which your checklists appear.
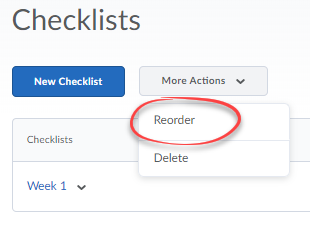
- Select More Actions.
- Choose Reorder in the action menu.
- Change the values in the Sort Order column.
- Select Save.
7. Reorder: Categories or Items Within a Checklist
Change the order of your categories or items.
- Select the down arrow to the right of the checklist you wish to modify and select Edit from the action menu.
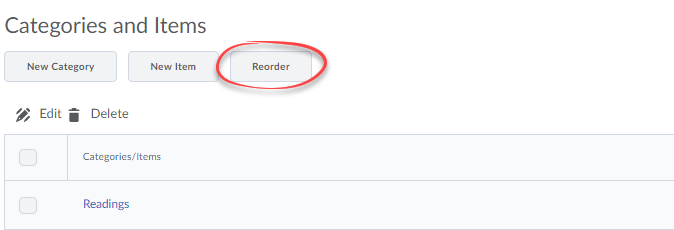
- Under Categories and Items, choose Reorder.
- Change the values in the Sort Order column.
- Select Save to return to the Edit Checklist page.
- Select Save to save your changes and remain in the checklist, or Save and Close to save your changes and return to the main checklist page.
8. Delete: A Checklist
Permanently delete one or more checklists.
- On the Checklists page, select Delete from the More Actions menu.
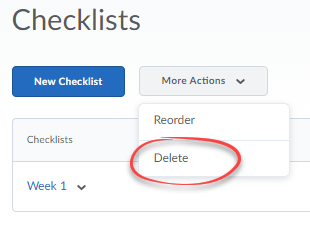
- Select the checklist(s) you want to delete (check boxes to the left), and select Delete Selected.

