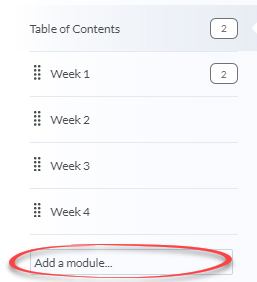
1. Create: Modules
Create a Module to house course materials and activities.
Modules are the primary way of grouping content for easy and clear access for students. You can create modules by week, by topic, by unit, etc.
To create:
2. Create: Sub-modules
Create a Sub-module (a module within a module).
To create:- Click the Add a sub-module box at the bottom of an existing module.
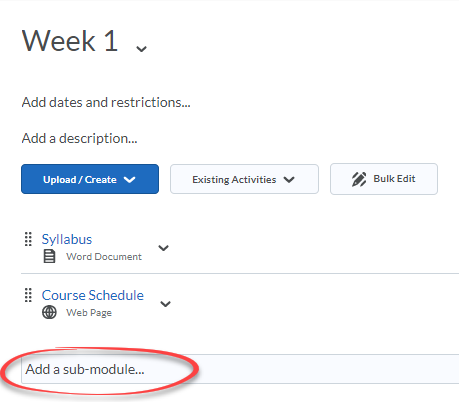
- Enter the name of the sub-module.
- Press the Enter or Tab key.
3. Create: Add descriptions
Content Descriptions provide information about the module, such as the learning objectives.
To add:
- While in Content, click on the Module to which you want to add a description under Table of Contents.
- Click Add a description.
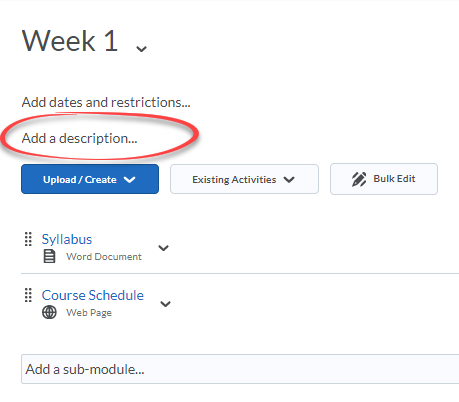
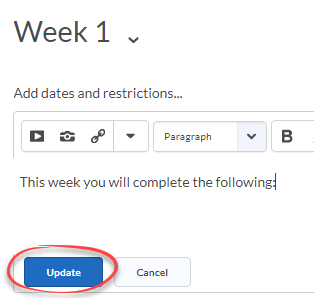
- Enter the description and click the Update button.
4. Visibility: Control what students see
Visible and Hidden Modules.
By default Content Modules are visible to students. To make them invisible to students, they need to be changed to hidden.
- While in Content, click on the Module you would like to make invisible to students under Table of Contents.
- To the far right of the Module click on the eye icon (Visible).

- Click the toggle switch to change status to Hidden.

5. Enable: Date restrictions to content modules
Control when students can open Content.
Date restrictions do not hide modules and topics from students, but they do prevent students from accessing the topic links until the Start Date (or after the End Date). These links will be grayed out and cannot be clicked outside of the dates you set.
- While in Content, under Table of Contents, click on the Module to which you would like to add date restrictions.
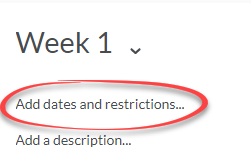
- Click Add dates and restrictions.
- Click Add Start Date and enter a date and time. Click End Date and enter a date and time if you want to prohibit access to content after a given date. Use the Due Date if you want a date when the module should be completed to appear on the calendar.
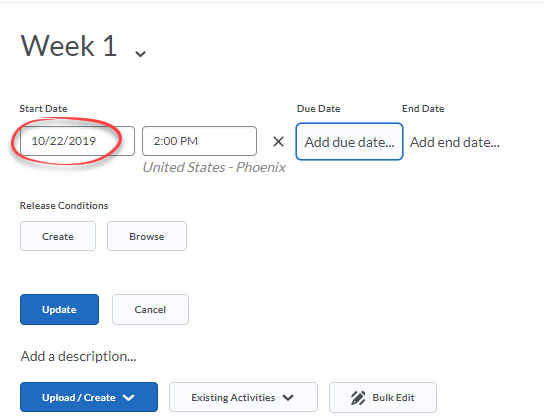
- After setting the dates, click Update.


