1. Create: Pass/Fail Grade Items
Pass/Fail Grade Items can be used to assign participants either full credit or no credit.
- In the Grades tool, navigate to the Manage Grades view.
- Select New, and then choose Item.
- Select Pass/Fail.
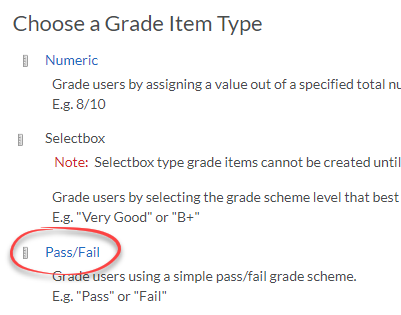
- Enter a Name.
- Select a Category if needed.

- Enter the Max Points possible for the Grade Item. If the Grade Item belongs to a category, this option may be grayed out depending on category settings.
- Enter the Weight the Grade Item should contribute to its parent category or Final Grade. This option may be grayed out depending on Category or Gradebook settings.
- Check the box under Bonus if this will be an extra credit item. Bonus Grade Items are not included in the maximum points for a Category or Final Grade, but are added on top of the Calculated Grade.
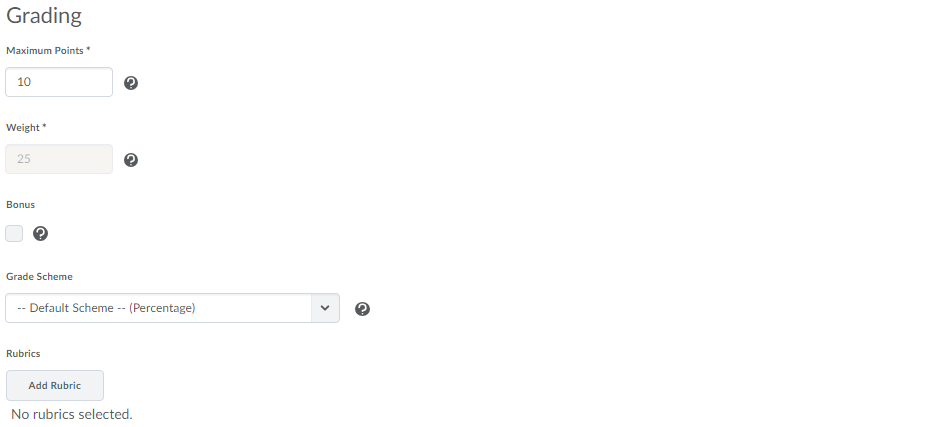
- Select one of the Save options at the bottom of the screen.
2. Create: Selectbox Grade Items
Selectbox Grade Items can be used to assign predetermined scores to participants, including UA letter grades.
You can use this Grade Item to assign letter grades to Assignments.
- In the Grades tool, navigate to the Manage Grades view.
- Select New, and then choose Item.
- Select Selectbox.

- Enter a Name.
- Select a Category if needed.

- Enter the Max Points possible for the Grade Item. If the Grade Item belongs to a Category, this option may be grayed out depending on Category settings.
- Enter the Weight the Grade Item should contribute to its parent category or Final Grade. This option may be grayed out depending on Category or Gradebook settings.
- Check the box under Bonus if this will be an extra credit item. Bonus Grade Items are not included in the maximum points for a Category or Final Grade, but are added on top of the calculated grade.
- Use the Grade Scheme dropdown menu to select the scheme you'd like to use. Use the University of Arizona Standard Letter Grade if you want to assign A/B/C/D/E grades.
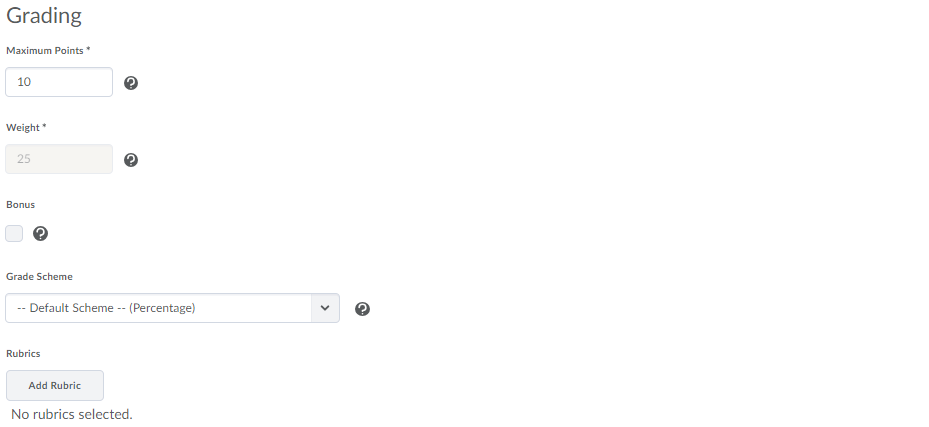
- Select one of the Save options at the bottom of the screen.
3. Create: Calculated Grade Items
Calculated Grade Items can be used to calculate participants' cumulative achievement across multiple Grade Items.
Calculated Grade Items are NOT included in the Final Grade calculations, cannot be part of a grade Category, and cannot be used as a Bonus item.
- In the Grades tool, navigate to the Manage Grades view.
- Select New, and then choose Item.
- Select Calculated.
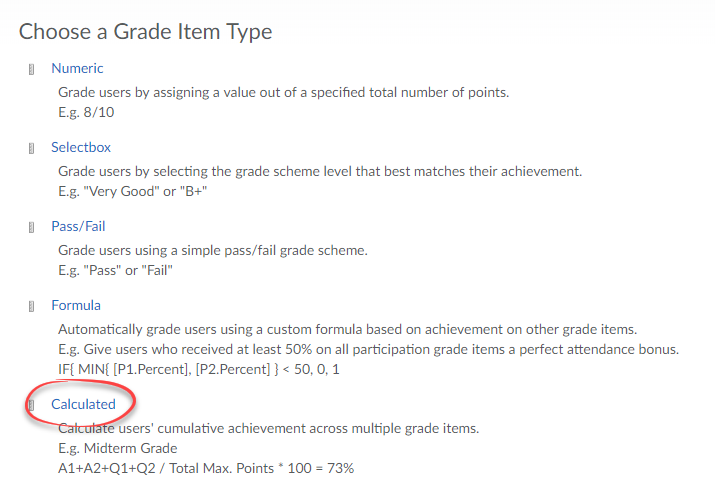
- Enter a Name.
- Check the box under Can Exceed if participants will have the possibility of earning more than the maximum points possible.
- Check the box to the left of each grade category/item you would like included in the Calculation.
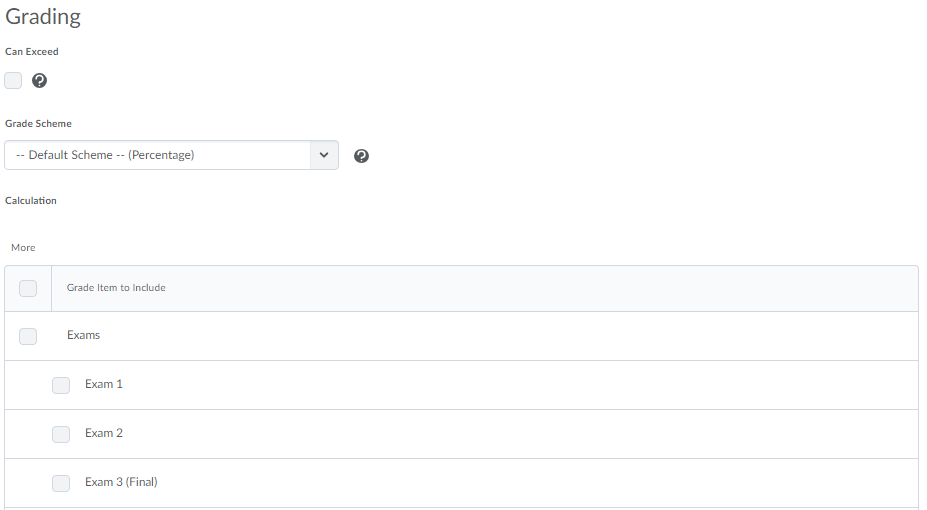
- Select one of the Save options at the bottom of the screen.
4. Create: Text items
Text Grade Items can be used to provide comments in the grade book.
Text Grade Items are NOT included in Final Grade calculations. In order for participants to see the comments you enter, you must allow students to view the Grade scheme symbol for ALL Grade Items in the grade book.
- In the Grades tool, navigate to the Manage Grades view.
- Select New, and then choose Item.
- Select Text.
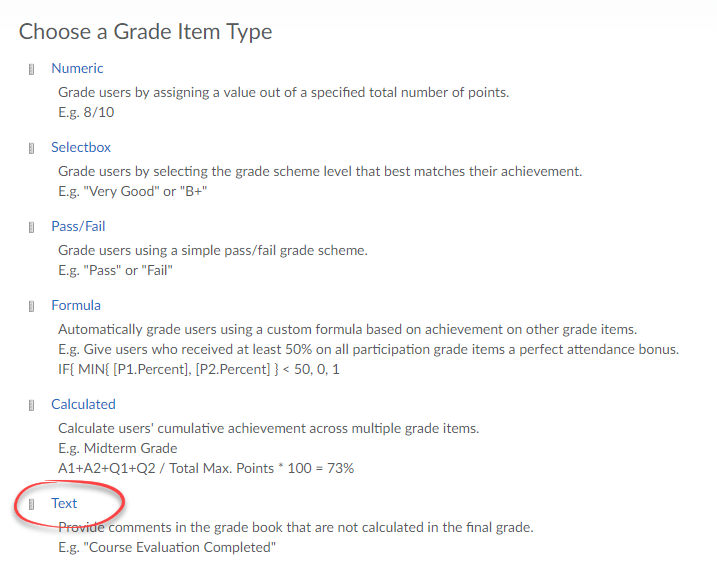
- Enter a Name.
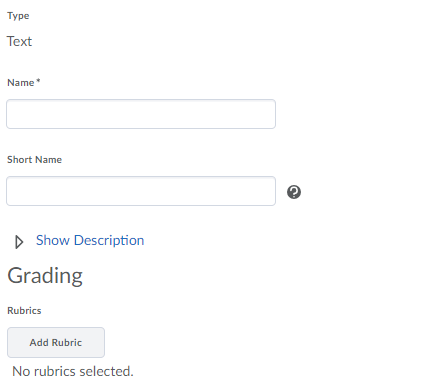
- Select one of the Save options at the bottom of the screen.
5. Create: Formula Grade Items
Formula Grade Items can be used to generate scores based on scores earned on other Grade Items.
Formula Grade Items cannot be part of a grade Category. They also cannot be used as a Bonus item.
- In the Grades tool, navigate to the Manage Grades view.
- Select New, and then choose Item.
- Select Formula.
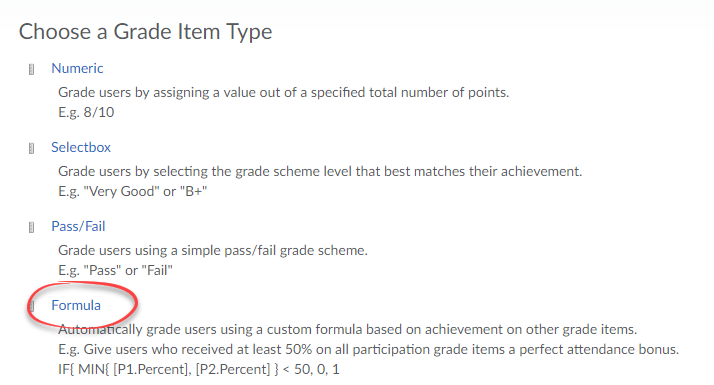
- Enter a Name.
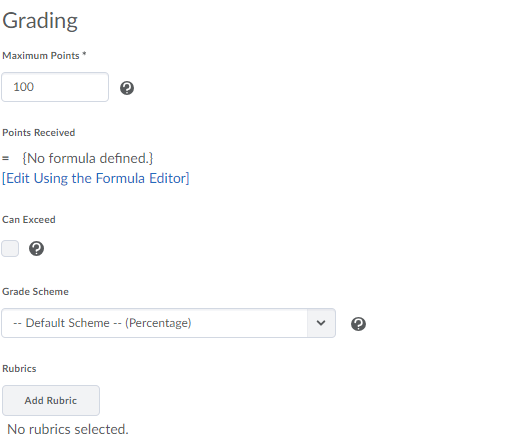
- Enter the Max Points possible for the Grade Item.
- Use the Formula Editor to enter a formula for calculating the Points Received. This is how your participants will be graded.
- Check the box under Can Exceed if participants will have the possibility of earning more than the maximum points possible.
- Select one of the Save options at the bottom of the screen.
6. Access: Formula Editor
Use the Formula Editor to set up a unique grade calculation for Formula Grade Items.
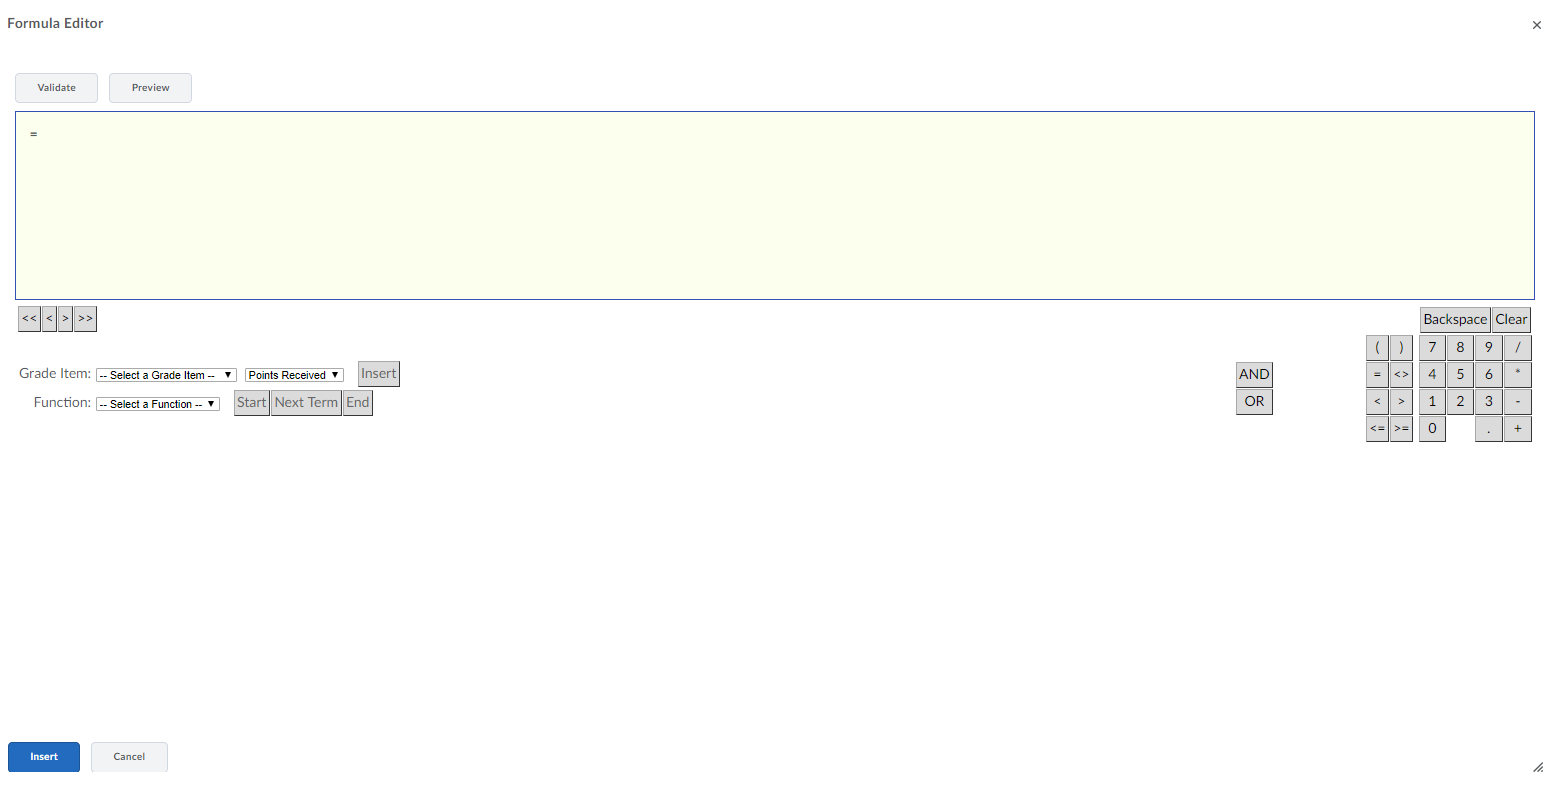
When using the editor, the only thing you can type into the equation is a comma (,). You must enter all other parts of the formula using the dropdown menus and/or calculator buttons provided.
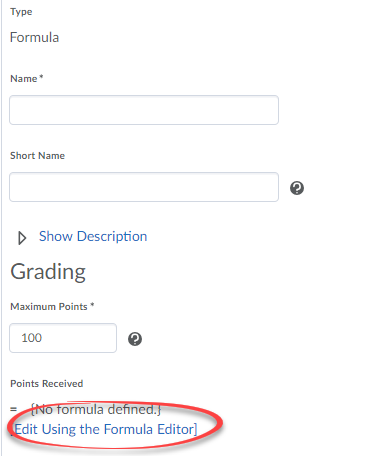
- In a Formula Grade Item (see above), select Edit using the Formula Editor.
- Use the Function dropdown menu to select the type of formula you would like to use.
- Select Start.
- Use the Grade Item dropdown menus and Calculator buttons to complete your formula.
- To see if your formula is configured correctly, select the Validate button at the top of the editor window.
- When you are satisfied with your formula, select the Insert button.

