There are two workflows for creating and linking Grade Items to the Gradebook:
- You can Build your Gradebook in Advance using the Grades tool to construct a framework of Grade Categories and Items.
- Or, you can Generate Grade Items from the Content tool or Builder Interfaces of individual activities (e.g., Quizzes, Assignments, but not yet available in Discussions).
The Grades Help Pages provide instructions on how to build your Gradebook in Advance. The Content, Quizzes, and Assignments Help Pages provide instructions on how to generate Grade Items from tools or Builder Interfaces.
Note: If your Gradebook uses a Weighted System and/or Grade Categories, it is recommended to Build your Gradebook in Advance.
1. Create: Categories
Use Categories to group similar Grade Items.
From the Manage Grades view, Categories are highlighted (light blue) and located flush left in the list of Gradebook components.
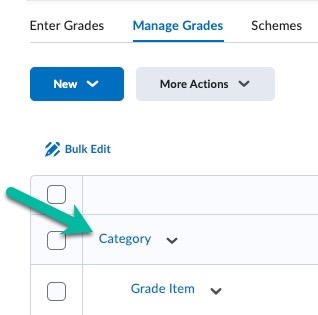
Note: Categories are not required. If you only have a few Grade Items in your course, creating independent items is fine.
- Select Grades.

- Verify that you are on the Manage Grades view.
- Select New and choose Category.
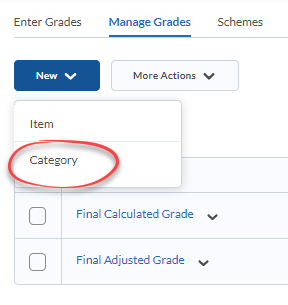
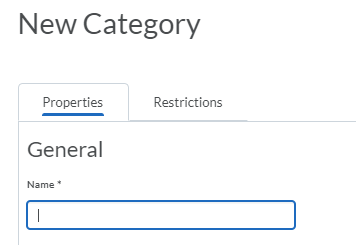
- Enter the name of the Category.
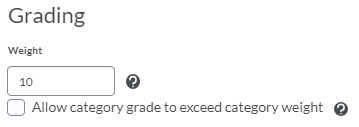
- Weighted Gradebook, only: In the Grading section, enter the weight for the Category (i.e., 10 for 10%).
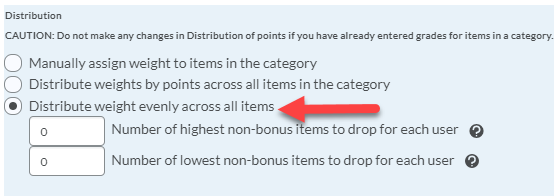
- In the Distribution section, select how weights (or points, if using a Points Gradebook) are handled. The option to Distribute weight (or points, if using a Points Gradebook) evenly across all items is the most flexible. It automatically distributes the weight (or points, if using a Points Gradebook) across items in a Category. It also allows you to drop items from the Final Grade.
- Save and Close.
2. Create: Grade items
Add Grade Items for each graded activity.
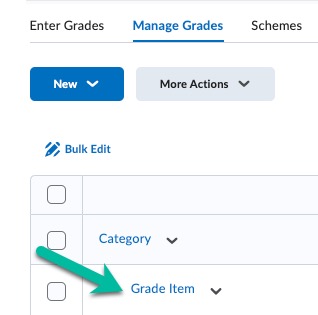
Grade Items are the ledger entries for graded work. From the Manage Grades view, Grade Items are distinguished by indentation; they are indented in the list of Gradebook components.
- Select Grades.

- Verify that you are on the Manage Grades view.
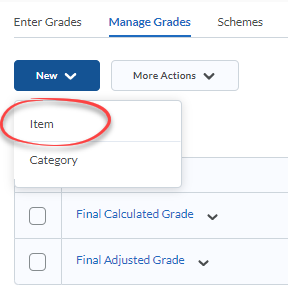
- Select the New button and choose Item.
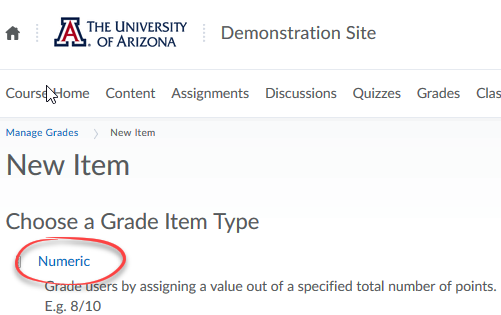
- Select Numeric from the list of options.
- Enter the name of the Grade Item.
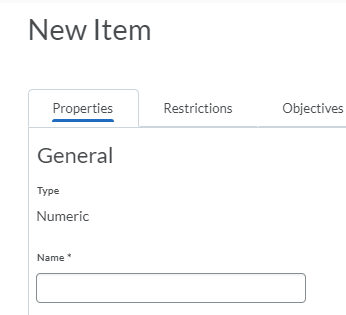
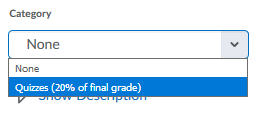
- If the item belongs in a Category, and the Category has been created, select the Category to which the item belongs. Grade Items do not have to be in a Category.
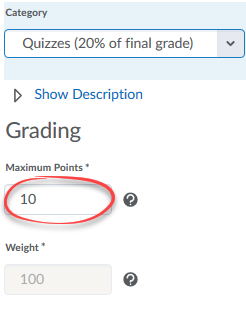
- Enter the maximum points a student can earn for this item in the Maximum Points box. If you are using a Weighted Gradebook, you may need to put a weight in the Weight box. (If the item is in a Category, and the Category is set up to handle weights, a weight will be automatically entered and will not be editable.)
- Save and Close.

