1. Create: A Basic Quiz
Use the Quizzes tool to administer your quiz, text, exam, or other assessment instrument.
To quickly create a new grade item associated with the quiz:
- Select Quizzes in the course navbar.
- Select the New Quiz button.

- Enter a Name for your quiz.

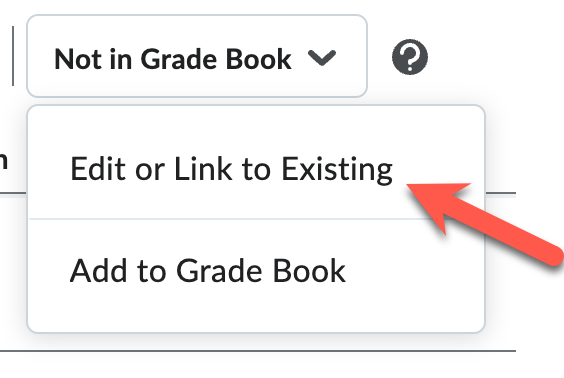
- (Optional) If grading, click Not In Gradebook to expand the menu. Choose Edit or Link to Existing if a grade item for the quiz already exists in the gradebook or choose Add to Gradebook if you'd like D2L to automatically create an associated grade item in Grades. Note: By default, a quiz is not associated with the gradebook. Create an association so scores will transfer from a quiz to a Grade Item.
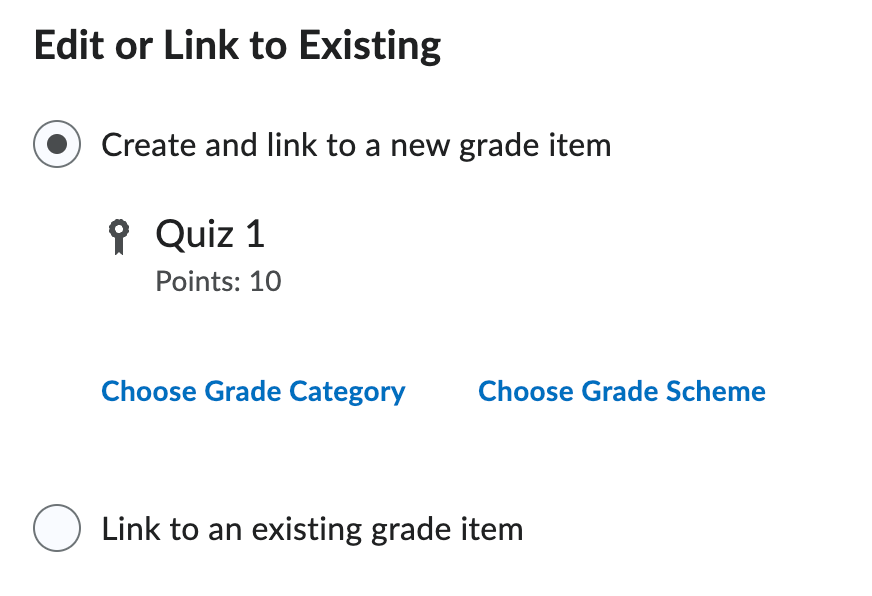
4a. To link the quiz to an existing grade item or change the grade item currently associated:
- Select Edit or Link to Existing.
- Choose Create and link to a new grade item or Link to an existing grade item to choose from a list of existing items in the gradebook.
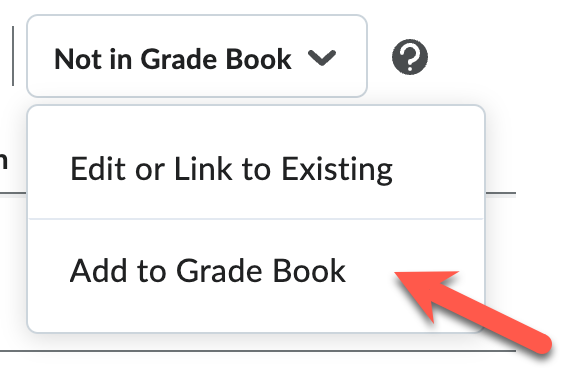
4b. To create a new grade item associated with the quiz:
- Select Add to Gradebook.
- Enter a points value in the Grade Out Of field.

- Select Edit or Link to Existing.
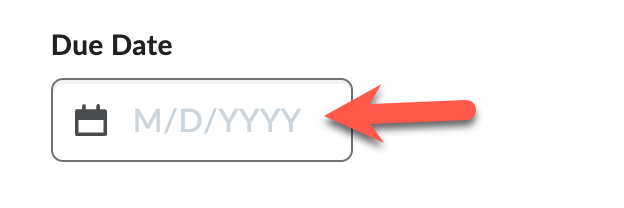
- (Optional) Add a Due Date to put this assignment in the Course Calendar. Students can submit the quiz after the due date but will be marked as late.
- (Optional) Add a description. Students will be able to view the description before beginning the quiz.

- (Optional) At the bottom of the screen click on the Hidden toggle to change to Visible (so the quiz is visible to students). Click the Save button to remain in the quiz (or Save and Close to save your changes and exit).

2. Import: Questions
Import your questions from the Question Library.
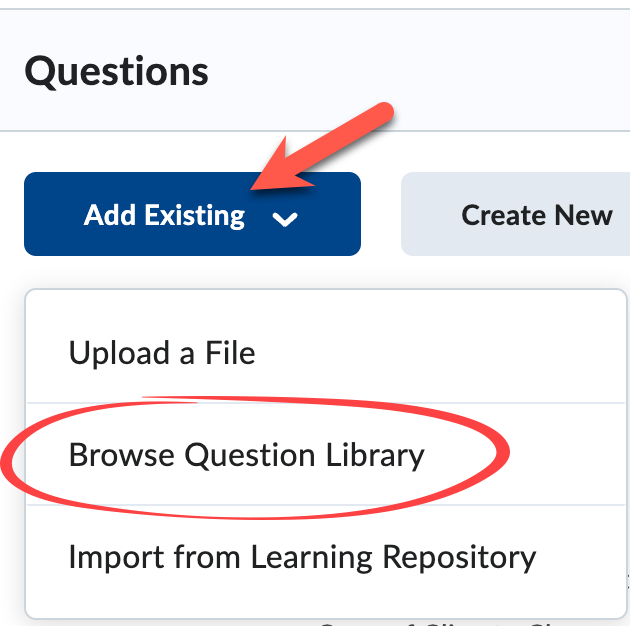
- Select Add Existing and Browse Question Library.
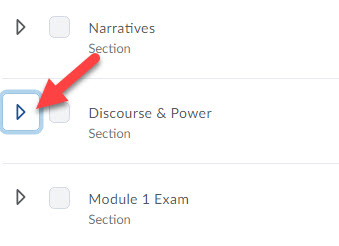
- Select the triangle to open the section(s) where your questions are stored.
- Select the checkbox next to the question(s) you wish to import.
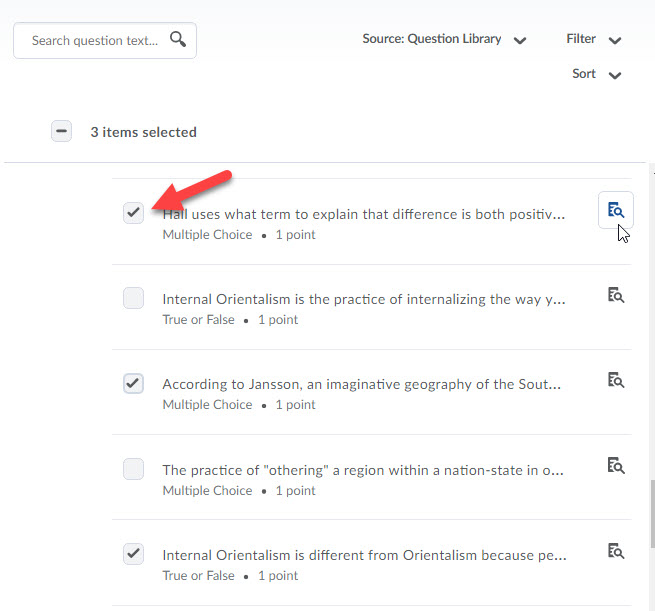
Note: If you want to see the full question text, click on the magnifier glass icon to the right of the question. Use the filter and sort options on the top right to narrow your list of questions.
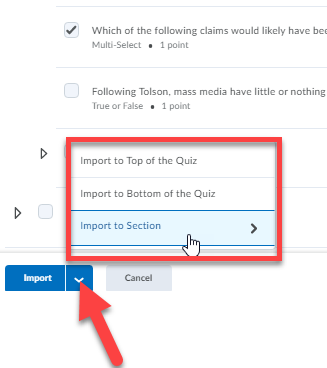
- Select the Import button. If you want to specify where questions will be located in the quiz, click the down-caret next to the Import button to open the Import to menu and choose one:
- Import to top of Quiz
- Import to Bottom of the Quiz
- Import to Section (and select the section)
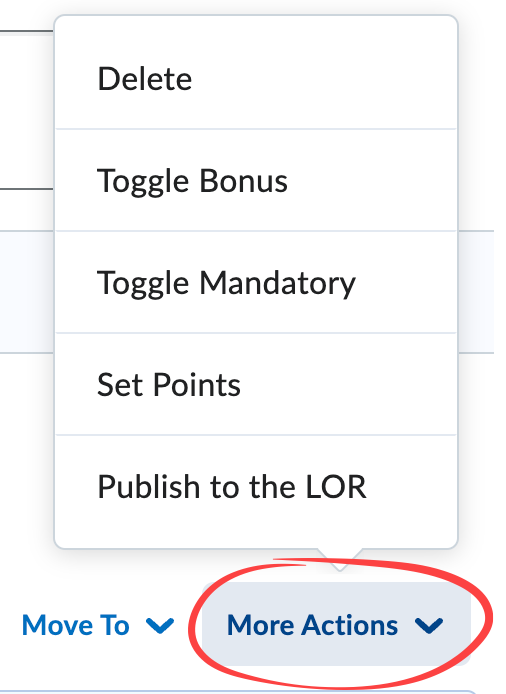
Note: If you want to change the points value, or make any of your questions bonuses (optional if students want extra points) or mandatory (students are forced to answer), select the check box next to your questions and click the More Actions button that appears.
- Click the Save button to remain in this tab (or Save and Close to save your changes and exit the quiz).

3. Determine: When Students Can Take the Quiz
Set a time frame; students can start the quiz at any time within this time frame.
Note: When you add start and end dates, students can see the quiz name, but they cannot open the quiz (nor can they see questions) outside that date range. When you add a due date, it serves as a reference only; students can still take the quiz after the due date.
- Select Availability Dates & Conditions to expand the section.

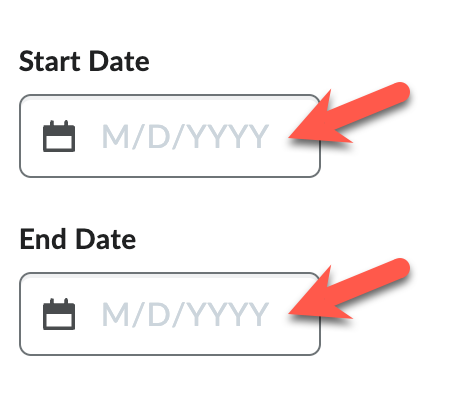
- Select the Start Date and/or End Date fields to open a calendar and select a date.
Note: Once you add a start date, students will see the basic quiz information, but will not be able to take the quiz or see questions until after the start date.
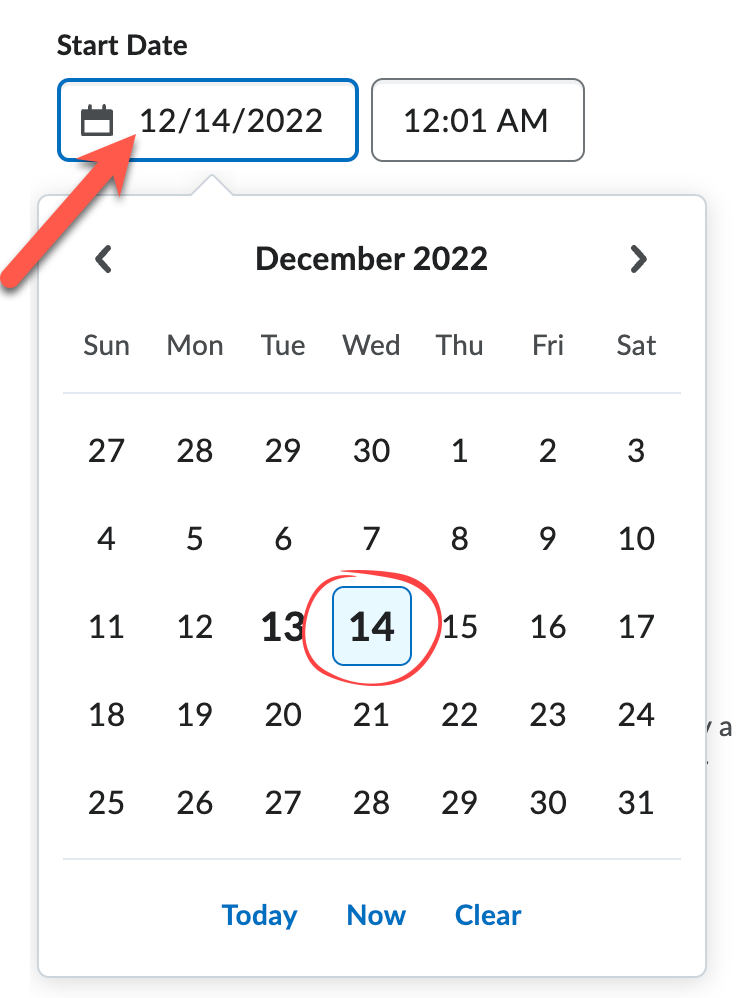
- Select a date from the calendar.
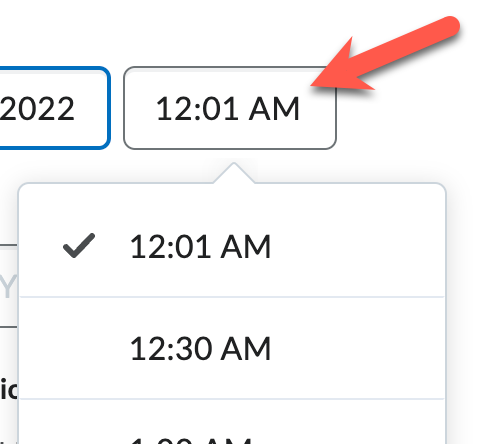
- Click on the time field to open a menu from which to select a time. You may also type a time into the time field.
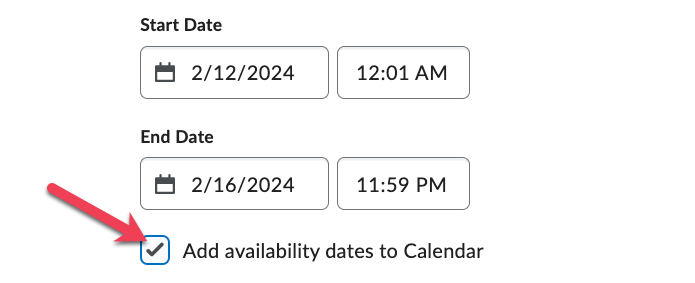
- Select the checkbox for Add availability dates to Calendar to add both Start and End Date events to the course calendar.
- Select the Save button to remain in this tab (or Save and Close to save your changes and exit the quiz).

4. Determine: How Long Students Have to Take the Quiz
Let students know how long they should spend taking the quiz.
Note: A student can exit and return to the quiz as many times as they want until the clock runs out (however, it must be within the quiz's time frame; see Section 3 above).
- Select the expand the Timing & Display section.

-
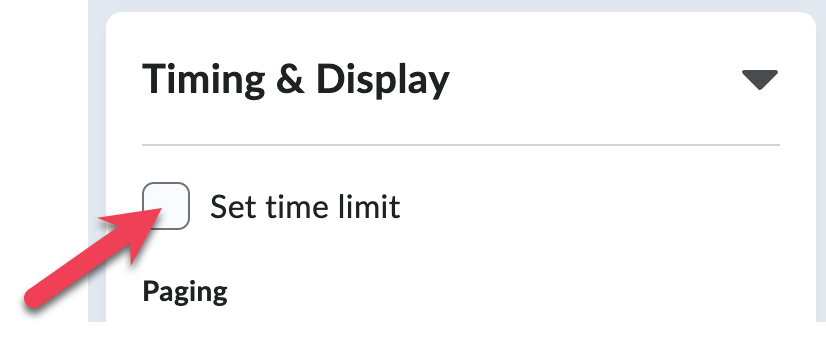
Select the checkbox next to Set Time Limit.
-
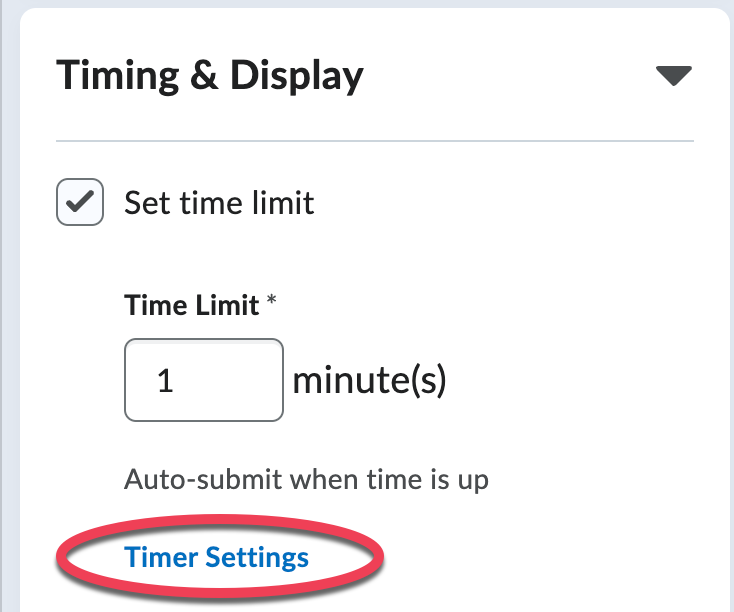
Select Timer Settings.
-
Select an option under Quiz Start.
- Asynchronous: The quiz starts when the learner chooses to begin the quiz. Start, End, and Due Dates apply.
- Synchronous: The quiz timer starts on the Start Date for all learners. The quiz timer then ends for all learners at the same time. The Due Date is omitted if this option is selected.

-
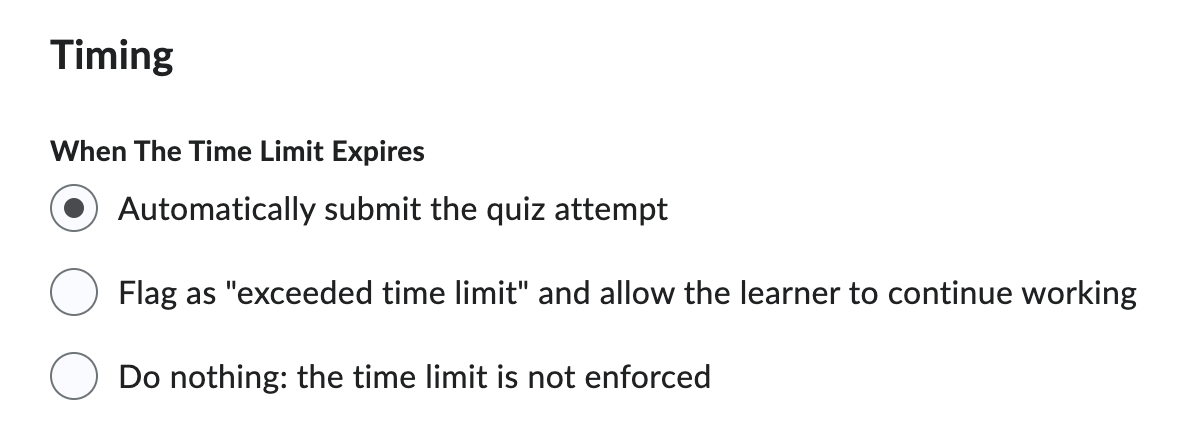
Select an option under When The Time Limit Expires.
-
Select the Save button to remain in this tab (or Save and Close to save your changes and exit the quiz).
5. Give: Students Multiple Attempts
Allow students to take the quiz more than once.
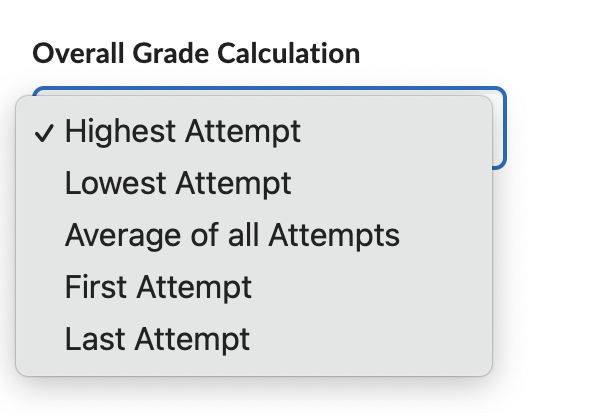
You can choose which score to record to the gradebook: the highest, lowest, an average score, and so forth.
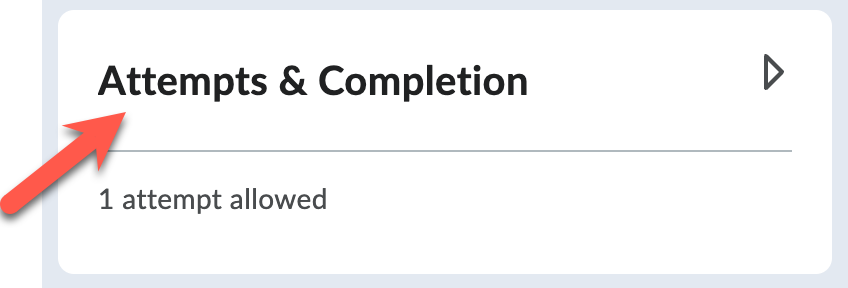
- Select Attempts & Completion to expand the section.
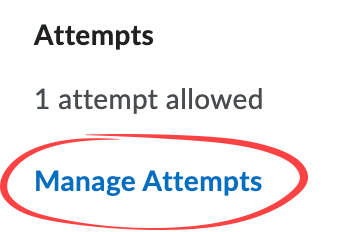
- Select Manage Attempts.
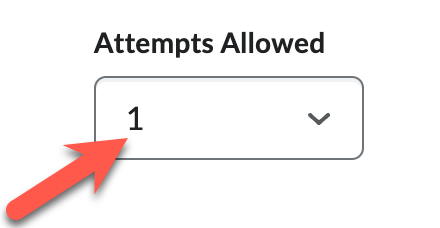
- For Attempts Allowed, select the number of times students can take the quiz.
- (Optional) If you would like students to have more than one attempt, choose an option for Overall Grade Calculation from the dropdown menu. Note: If you select "on new attempts, only allow answers for previously incorrect questions" (below), you can select Average of all Attempts to give the student partial marks for questions answered incorrrectly on the first attempt.
- (Optional) If you want to limit students so they only see questions they answered incorrectly on a previous attempt, check On new attempts, only allow answers for previously incorrect questions.
Note: With this option, the quiz must be graded before students can take a second attempt. Either set up D2L to autograde the quiz (see autograding in section 6 below), or manually grade and publish the quiz.

- If you would like students to only be allowed another attempt if they earn a certain grade on a previous attempt, enter percentage scores in the Min and Max fields under Attempt Conditions. Click Ok.

6. Assess: Determine How the Quiz Will Be Graded
D2L can automatically grade quizzes for you and send scores to the gradebook.
- Select Evaluation & Feedback to expand the section.
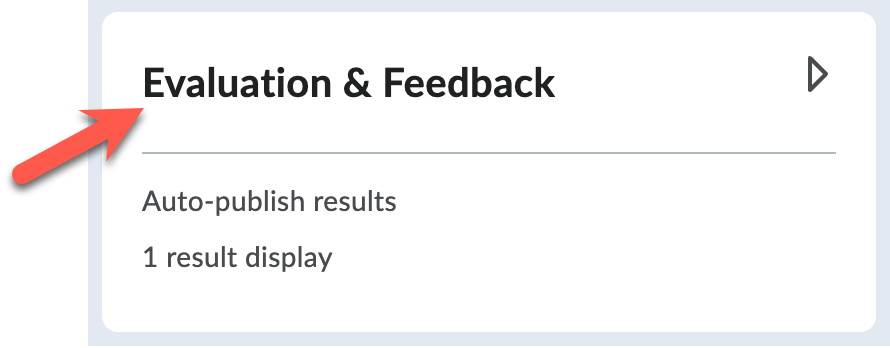
- To allow D2L to automatically calculate each student's quiz grade for you and publish in the Quizzes tool, select Auto-publish attempt results immediately upon completion.
Note: Select this option only when your quiz contains questions that can be autograded. D2L will give students a zero for ungraded questions, making their quiz scores appear lower than they actually are.

- If a grade item is associated with the quiz, you will have the option to select Synchronize to grade book on publish. This will automatically send quiz grades to the gradebook.

- Select the Save button to remain in this tab (or Save and Close to save your changes and exit the quiz).

7. Preview: The Finished Quiz
"Take" the quiz so you can see it the way a student does.
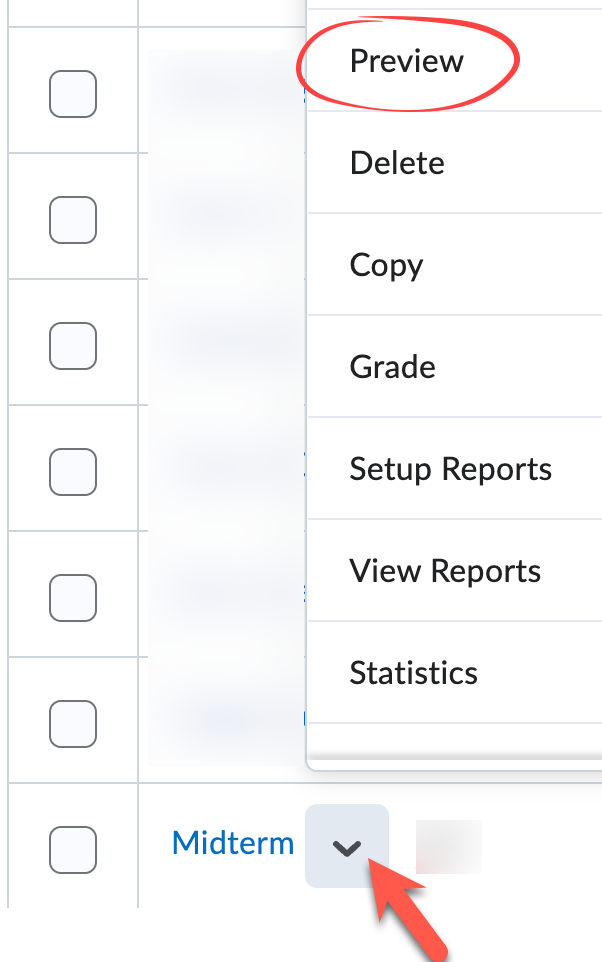
- Select the caret to open the quiz's action menu.
- Select Preview.
- Select the Start Quiz! button.

- From within the quiz Preview page, you can:
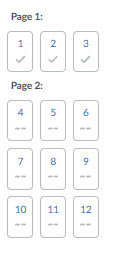
- View the page layout (e.g. the number of questions per page) and the questions you have answered.
- Answer all questions.
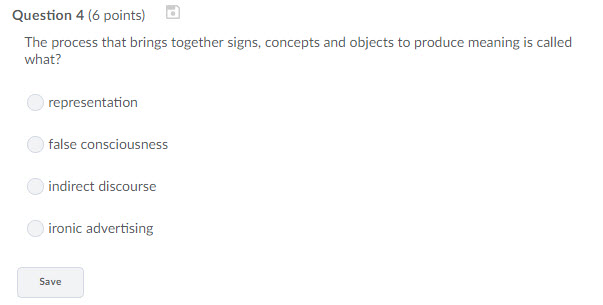
- Move through each page of the quiz.

- View the page layout (e.g. the number of questions per page) and the questions you have answered.
- When finished, click the Submit Quiz button.

- Check Allow this preview attempt to be graded in the Grade Quiz area if you want to check how your quiz attempt will be autograded by D2L.

- Select the Submit Quiz button a second time.

- Whenever you are finished, click the Exit Preview button located in the top right corner of any of the quiz preview screens.

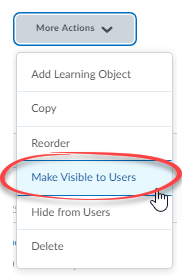
8. Bulk: Make Multiple Quizzes Visible
Activate multiple quizzes at once.
- Select the checkboxes next to the inactive quizzes (look for the closed eye icon).
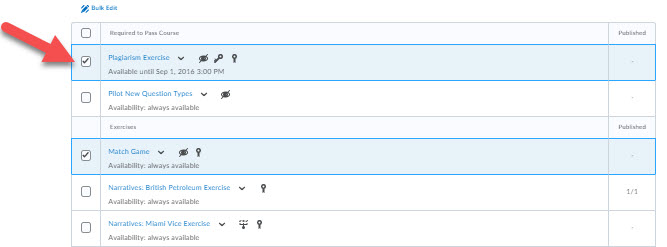
- Select the More Actions button..

- Select Make Visible to Users.
